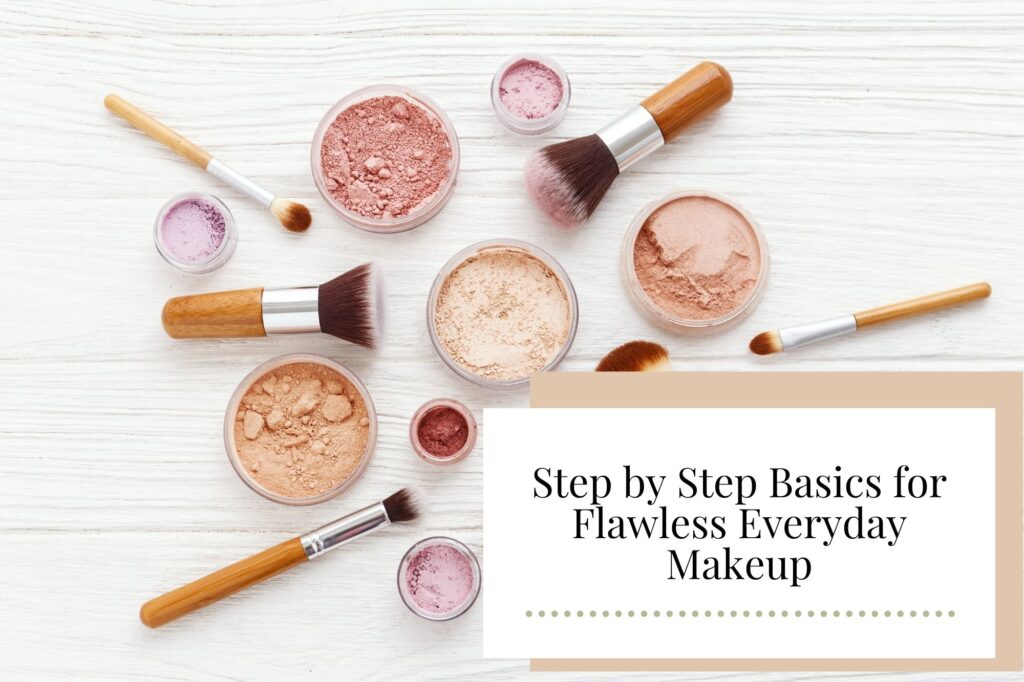
When it comes to makeup, it can be intimidating. There are thousands of different types and brands – it’s hard to know where to begin! Well, we’ve got you covered. This is our fool proof guide to achieve natural & flawless everyday makeup.
In this blog post, we include what we think are the most important steps for effortless makeup, as well as some steps that are optional. The products we use can also be easily substituted for your own – however we find that these work best for us! That being said, lets begin!
Getting your skin prepped and ready prior to makeup application is what is going to make or break how your makeup looks (and feels). Think of it as a pyramid… if the base layer isn’t done right then the following steps won’t go on evenly. This is why it is important to prep your skin first! It’s a simple step but will really make a difference to your makeup result.
1. First things first we start off with our MAC Cosmetics Face Wipes (or your preferred alternative). Wipe all over your face & neck to remove any excess oils & dirts that may be hidden on your skin. This is an important step as your face will then be clean and ready for the next products.
2. Next we go in with our Prep & Prime Spray from MAC Cosmetics and spray this evenly all over the face. This is a crowd favourite! This spray is not only a primer for your makeup, but also acts as a setting spray. It is perfect for all skin types, however you can trade this product with another that you might prefer. Keep in mind that cream primers are more heavy on your skin apposed to a spray, so they are best for dry skin types.
3. After priming we go in with our MAC Cosmetics Strobe Cream. This is an optional step, but definitely worth doing if you can! Apply this either with your hands or a foundation brush, and spread evenly on your face & neck. This product contains loads of vitamins & antioxidants, helping reduce flat or dull looking skin by giving it a subtle glow under your foundation.
Now its time for the fun part – the makeup! As we said, makeup can be intimidating and overwhelming when it comes to choosing what brand & type. However we will stick to the basics, as perfecting the simple steps is important in achieving the flawless look!
1. Our first step for the base is the foundation. Apply an even layer on the face and neck and buff into the skin with a buffing brush. The foundation we used is the MAC Cosmetics Studio Fix Foundation with SPF 15, however you can swap this with your preferred foundation, keeping in mind that having SPF is perfect in everyday makeup as it protects you from harsh UVB Rays from the sun! *
2. Secondly we conceal under the eyes with the NARS Creamy Concealer. Apply this over dark circles or blemishes, blending it out with a small concealer brush.
3. Next we need to set the face! We like to use a loose translucent setting powder to lock your foundation & concealer in place. We use the Hourglass Translucent Powder.
4. After we have set the face, its time to contour & bronze. Using the Kat Von Dee Shade & Light Palette (or similar), mark out the shadows of the face using a “contour shade”, then blend into the skin. The main areas you should be focusing on are below the cheekbone, jawline & forehead.

5. Then to warm the face, we use bronzer! Apply this on top of where you put the contour, blending upwards. We used is the MAC Cosmetics Give Me Sun Bronzer, but you can use your preferred brand.
* SPF is perfect for day time wear, however make note that some foundations with SPF can cause “flashback”, aka the appearance of a “white cast” when a photo is taken with the flash on. Not all SPF foundations do this, however you should keep this in mind if you are planning to wear this on a night out & taking photos!
Last but not at all least, its time to add more definition to the face! Adding these final steps to your everyday makeup routine will take your look that little bit further. In this section, we focus on highlighter, eyebrows, eyes & lips to complete the entire look! Watch the video below to see how we applied these steps:
1. After we have contoured & bronzed, its time to highlight (we used the Mecca Cosmetica Highlighter). Apply this above your cheekbone, under the arch of your brow, and on your cupids bow (above your lip). This will highlight the high points of your face, giving you more definition. (Image previously on where this should be applied).
2. Next step is the brows. For Maddi, we filled them in with a brow pencil by MAC Cosmetics. This is optional, especially if your brows are already dark and defined. However we do recommend setting them in place, for this we used a clear brow gel by MAC Cosmetics.
3. Then we went in with eyeshadow. For natural makeup, it is best to stick with warm & bronzey tones, as this is the most natural to your complexion. Apply this over the lid and blend into the crease of the eye. We used a Tarte Cosmetics Palette. Follow this with your favourite mascara and your nearly finished the look!
4. Set your makeup in place with the Prep & Prime Spray from MAC Cosmetics. This will keep your makeup on all day!
5. The final step to complete the look is lips! This is optional, however we do recommend adding a nude lip as it really brings the look together. Keep your lip colour neutral for more of an everyday look, or add a pop of colour for a fun night out! We used the shade Velvet Teddy by MAC Cosmetics.
We also stock Shanghai Suzy Lipsticks in our salon! They have great pigmentation and are vegan friendly – they have a range of colours that would be perfect for this look!

And there you have it! Our steps on how to achieve a flawless everyday makeup look!
If you have recreated the look – we’d love to see it!
Tag us via our Instagram @blanchairstudio
Stay tuned for our next blog upload next month!
Love The Blanc Girls xx